


Installation
The plugin install runs the same way as a regular WordPress plugin. Additional details can be found also on WordPress Repository
- Upload the contents of the downloaded archive—specifically the advanced-post-types-order folder—to your /wp-content/plugins/ directory. Alternatively, go to Plugins → Add New → Upload Plugin in the WordPress admin area and upload it there.
- Activate the plugin from Admin → Plugins, or from Network Admin → Plugins if you are using a WordPress Multisite environment.
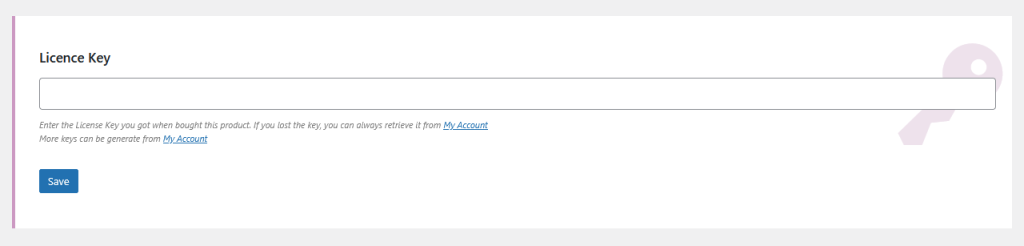
- Go to Settings → Post Types Order to access the plugin interface and enter your license key.
- Review the additional settings available on the same Settings → Post Types Order page to enable extra functionality.
- Use the Re-Order link that appears under each post type menu to create and manage custom sort orders.
This is a sample of the Re-Order interface, where you can create and manage custom sorting for your post types:
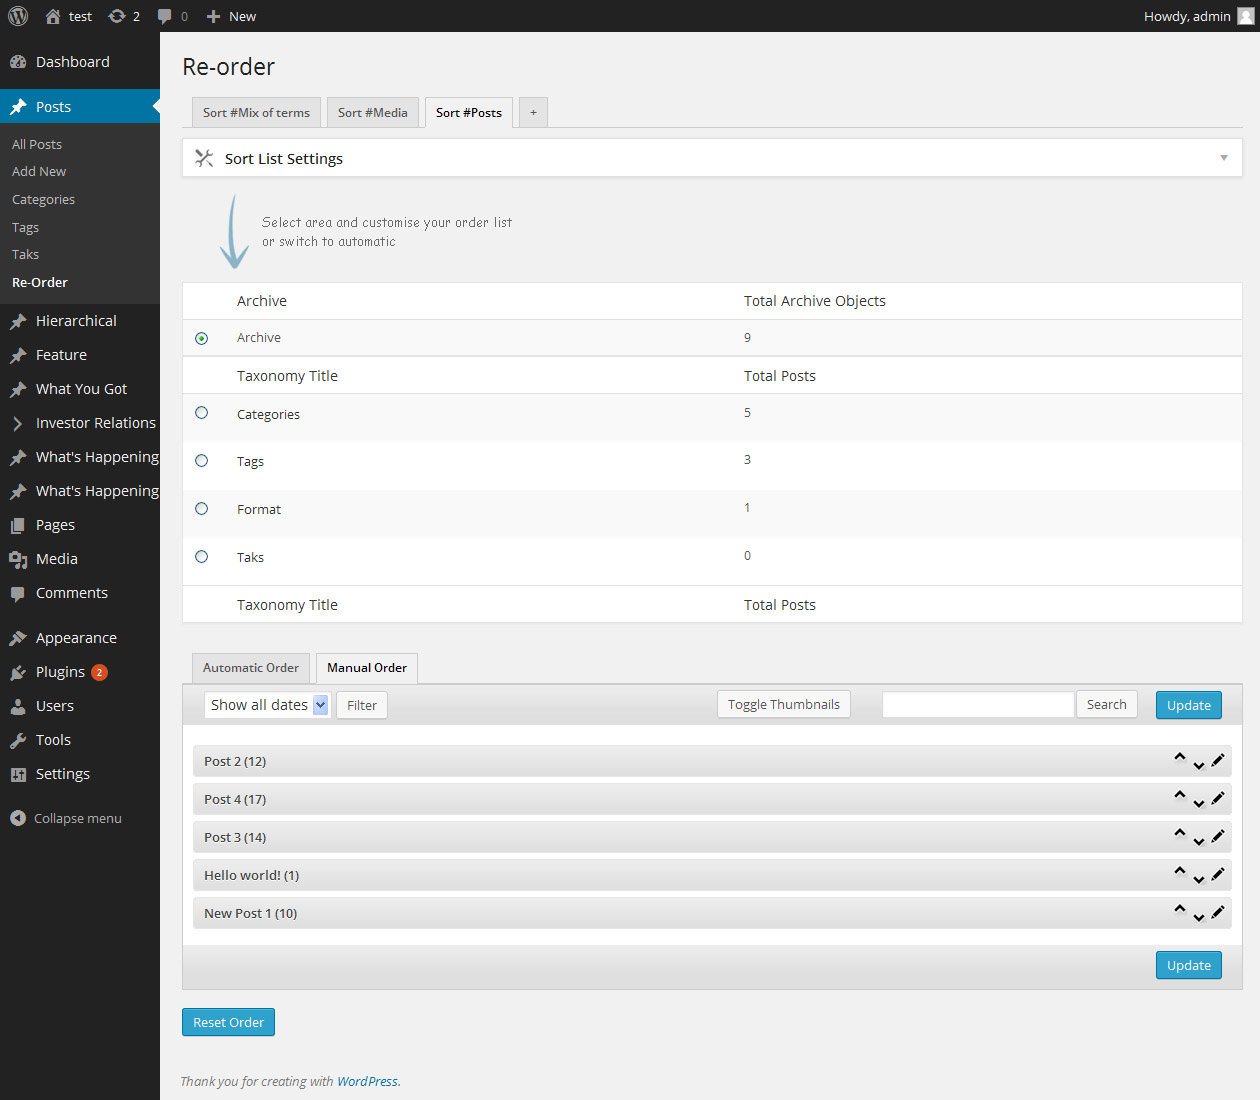
On the initial installation, the plugin automatically shows a new menu item, the Re-Order interfaces for all post types used on your site, including default posts, pages, and any custom post types. You can disable these interfaces individually through the Settings > Post Types Order.
You can add sort lists to any menu, see Create Sort Lists for more details.
There was a problem connecting to https://www.nsp-code.com/index.php while activation.
Please advise why this happens.
Many Thanks
There may be a temporary network failure, can you please try again some time later.
Or we can manually activate the key for you, please get in touch with us through contact.
Thanks
Dan from Support Dept made manual activation. Many thanks for your assistance!