


Create Simple Sort for a Custom Post Type
Any order for your site are held by sort lists. Creating a simple sort for a Custom Post Type will allow to control the order for that particular post type across your theme, or just apply for certain areas in case of using Conditionals.
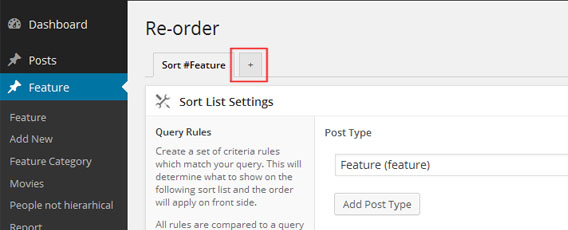
First access the Re-Order interface where you want to include the new sort. Click the + tab which allow to create a new sort:
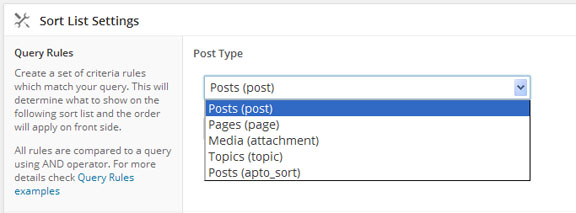
Set the required post type within the Sort List Settings. This will ensure the application will know what’s all about this sort and will apply the filters accordingly.
Fill in the Title and Description then click Create. You can always come back later to change any of the sort settings.
Once the sort has been created a new area will append under the sort settings. This allows you to chose the content which you intend to be sorted (i.e. archive meaning all objects of this post type, a category, a term etc). Also a drag a drop list will show up with the posts.
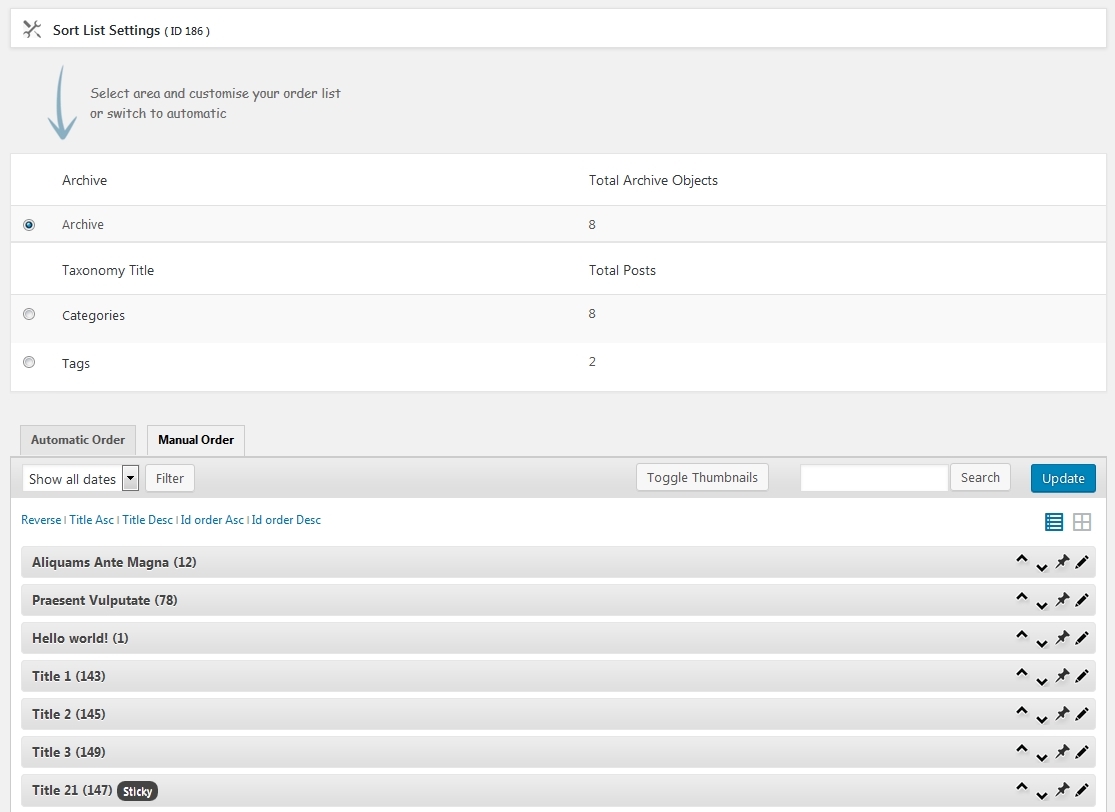
There are two type of sorting, a manual and automatic. Manual sorting will allow an exact order to be specified through the drag and drop AJAX-ed interface, while Automatic can be used to automatize the sort process, meaning the code will take care of order update including for all new post objects which will be created. For more details check with Manual / Automatic sorting type usage
Once the order saved this will apply on front side. In case of using Auto Sort, no changes are required to your theme, the order is updated automatically for all query which match this sort. If Auto Sort is turned off, sort can be applied by including the ‘orderby’ => ‘menu_order’ within the query parameters, more details can be found at Sample Usage
I just need a simple category sort for woocommerce… seems like i configured everything like you have in this article… everything is quite simple… but i still dont see any of it on the front end… the order is still default…
Can you make sure the Default Product Sorting is set to Default Sorting within WooCommerce > Settings > Products > Display? Also within the sort interface, you need to chose Categories selection (under the blue arrow) then select your category. Once updated, it should reflect on front side.
Imagine I have posts with a category “quotes” that I want to appear randomly under all posts that get to be sorted by date (latest to oldest). How to do that?
You should chose the Automatic Sort type then chose Order By -> Random.
Hi, few typos here!
“Fill in the Title and Description then click Create. You can always come bank later to change any of the sort settings.
Once the sort created a new area will append under the sort settings. This allows to chose the content which intend to be sorted (i.e. archive meaning all objects of this post type, a category, a term etc). Also a drag a drop list will show up with the posts.”
->
“Fill in the Title and Description then click Create. You can always come back later to change any of the sort settings.
Once the sort has been created a new area will append under the sort settings. This allows to you chose the content which you intend to be sorted (i.e. archive meaning all objects of this post type, a category, a term etc). Also a drag and drop list will show up with the posts.”
Not posted as a complaint – I like your manual, just posting to keep the standard high.
🙂
Hi,
Thanks for your feedback.
Hello, i just bought & installed the Advanced post types order. I made all settings but in the admin area, when i am on the posts list, i cannot drag & drop to sort. Before with the free version of the plugin i could actually do this. I have the “Allow sorting within default post type interface” option enabled.
Hi,
This should work fine, do you see any JavaScript error within your browser console?
If still not working, please use the Contact form and someone will help you in no time.
Thanks
Thanks. I will try the contact form sice i get no errors
Hey,
do you provide demo version or a demo site to look at it?
Hi,
Sorry there’s no demo available, but you can find plenty of articles and resources to make a good idea about the included functionalities.